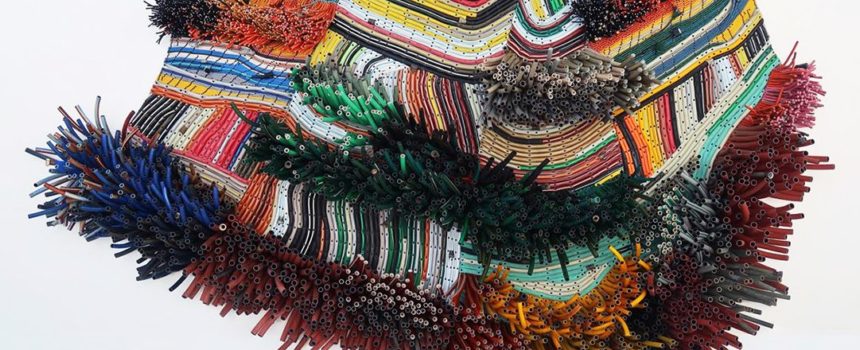
Artist Michelle Stitzlein maintains a studio in a re-purposed, former grange hall in the rural community of Baltimore, OH. With family ties to the now mostly-defunct, manufacturing history of her hometown, a teenage life spent in a culture of 1980’s wastefulness, and memories of a thrifty, fabric-scrap-reusing grandmother, Stitzlein creates sculpture with found items that resonate with fortune and abundance but that also address ideas of economic stress and natural depletion. Utilizing materials she scavenges and collects, her work is mindful of the resourcefulness and bootstrap mentality of farmers, homemakers and the depression era, as well as folk artists and craftsmen in developing countries.
When her artwork, Horizon Fringe, was featured in our Transformation 10: Contemporary Works in Found Materials exhibition in 2018 and 2019, she created two Drop-In Studio art activities – Re-Award Ribbon and Rose of Rubbish Necklace – that the visitors can follow along to create art with recycled materials that can be found in every household.
Difficulty level: 6 on a scale of 10

Re-Award Ribbon
Materials needed: Scissors that can cut through soft plastic, sharpie pen, a nail and hammer or a one-hole hole puncher, plastic container lids in different sizes, bottle cap, plastic sheets, wide ribbons, wire or strings, buttons or old pins.

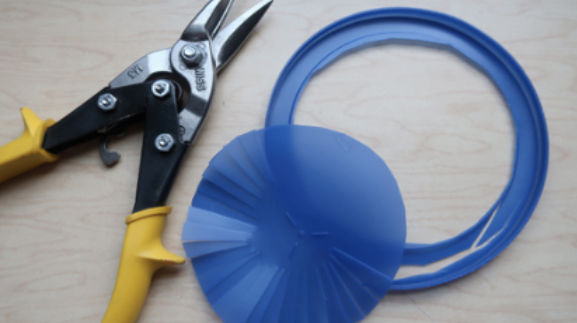
Select a plastic container lid (about 6”- 8” in diameter) for the outer fringed circle. You can use a large lid or a found plastic sheet that is cut down to a smaller size to form the overall circle.
From the edge of the lid, cut into the circle to create “fringes”, but remember to leave about 2” diameter of the center.

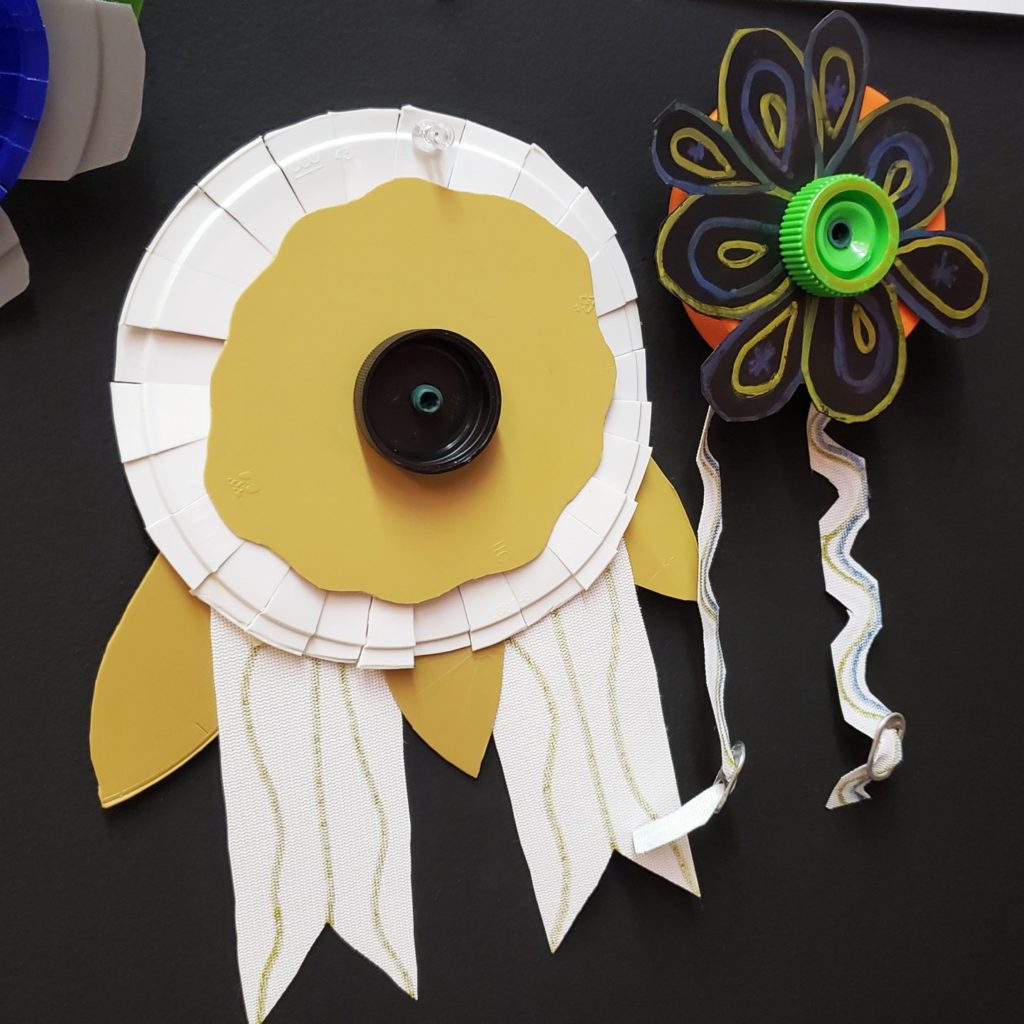
Pick another container lid, preferably in a different color, that is is slightly smaller than the first lid you used. Cut out a circle with wavy edges. You can draw the wavy edges with a sharpie pen first if that will assist you. It’s fun to utilize the printing on some of the lids if possible.
Layer the 2 outer circles on top of one another, so that you can see how it’s coming and select two bottle caps for the center of the Re-Award Ribbon. Be sure they all stack nicely on top of one another.
You can also layer multiple sheets of the circles or incorporate bottle caps of varying sizes too.
At the center of each plastic circle or bottle caps you are using, punch 2 small holes parallel to each other with a nail and hammer (if you don’t want to damage the surface you are working one, it is recommended to do this on a scrap wood piece or a cutting mat surface). For thin plastic sheets, you can try using a one-hole hole puncher. We will use these holes to tie the stacked layers together later.

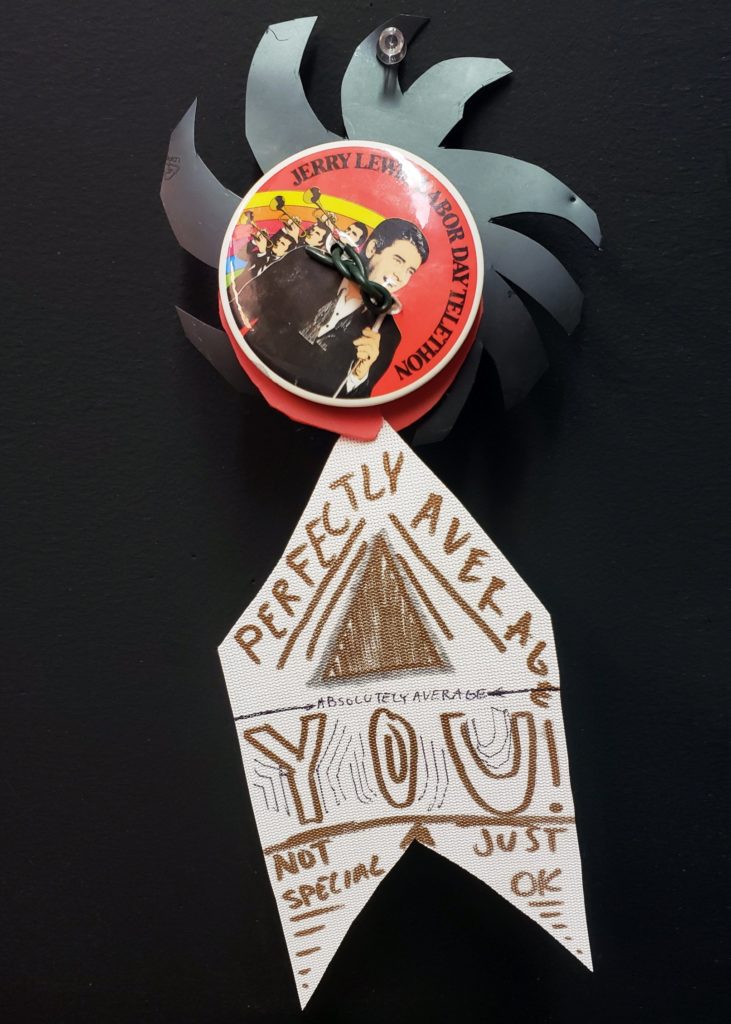
For the ribbon part of the Re-Award Ribbon, you can use wide ribbons or found plastic sheets and containers. If you do use found plastics for the ribbon, cut a triangle shape at the top of your ribbon and a “V” shape out of the bottom of the rectangular vinyl or plastic. Remember to also punch at least one hole on the top triangle part of the ribbon.

Start layering the circles and bottle caps, the smallest one in the front, the larger ones in the back. Line up the 2 holes you punched in each layer, take a piece of wire or string to string through all the layers. Remember to string the ribbon piece too. Lastly, finish the piece with a button or an old pin back.

Rose of Rubbish Necklace
Materials needed: Scissors that can cut through soft plastic, sharpie pen, a nail and hammer or a one-hole hole puncher, plastic container lids in different sizes, bottle cap, plastic sheets, soda pop cap, wire or strings or broken Christmas lights.

Select a plastic container lid for the outer flower (the lid we used is about 6″ in diameter). The flower can cut from very large lids too. Proceed to cut as many flower shapes as you like. We will stack the flower shapes together later on. Use a nail and hammer or a one-hole hole puncher to create a small hole in the center of the piece.

Cut the inner flower from a smaller lid. Cut the “rim” off and proceed to cut into the lid to create “fringes”, leaving the 2″ diameter center uncut. Use a nail and hammer or a one-hole hole puncher to create a small hole in the center of the piece.
You can make the flowers with more than 2 layers with the plastic cut flower shapes or using bottle caps of different colors. Make sure each layer has a small hole in the center to assemble later.
Layer your outer flower and inner flower pieces on top of one another, so you pick out the best combination. Be sure they stack nicely on top of one another.

Use a broken Christmas light strand (light bulbs off), locate the center of your light strand and push the outer flowers onto the light one at a time in the order that you would like them to appear. Some may need to be forced.
The last cap, or the innermost cap, will be a friction fit that is forced onto the light. This will hold the other layers tight.

Select the lids for 2-4 “leaves”. After punching a hole, cut from the stem of leave to the hold, so you can slide the leaves onto the Christmas light wire.

Select 2 – 4 bottle caps for the buds. Punch a hole at the center and push each bottle cap onto a Christmas light with a leaf until the cap falls freely past the light. Some caps may have to be forced… but others will fit loosely and still be fine.

To tie up the necklace ends, you simply tie them together or use a soda pop tab for a cleaner finish. If you are using a soda pop tab, pull each end of the taped Christmas light strand through both sides of a pop tab (much like a belt buckle). This is a friction fit, so you will have to force it. Once tight, snip off the taped or extra ends.
If you finished one of these Michelle Stitzlein art activities, share your work with us on social media by tagging us @sccpgh on Facebook, Twitter, or Instagram, or send us a photo of your complete piece!


